Bravura Cloud Quick Start
This guide provides instructions for accessing and using your new Bravura Cloud instance.
This guide shows you how to:
- Connect to your Bravura Cloud in our Cloud
- Review your data
- Plan and try out your business scenarios
What has been configured for you
Each Bravura Cloud deployment will be set up by Bravura Security's SaaS team upon request.
Each Bravura Cloud has the following authentication by default at deployment:
- Password and email
When your Bravura Cloud is ready, you will receive two emails:
- Welcome to Bravura Cloud email with a Bravura Safe Share link. The Bravura Safe Share will include the following deployment details for your Bravura Cloud:
- Bravura Cloud link
- Keycloak admin credentials
- Hasura credentials
- Loki and Prometheus credentials
- Password to access Bravura Safe Share
Save your Bravura Cloud deployment details
Once you have accessed your Bravura Safe Share with Bravura Cloud deployment details, you need to securely save those details in your own Bravura Safe collection or your password manager of choice.
NOTE: The Bravura Safe Share will expire, by default in a week.
Configure your users
You can manually add single users to Keycloak for access to Bravura Cloud and/or configure your own identity provider (IdP).
Configure your own IdP
To configure your own IdP, see our examples in Bring your own IdP.
Create a single user
To configure a single user:
This adds a single user to Keycloak.
-
Access Keycloak: https://hostname.bc.build.bravurasecurity.net/auth.
-
Click Administration Console.
-
Login with the credentials from the Bravura Safe Share.
-
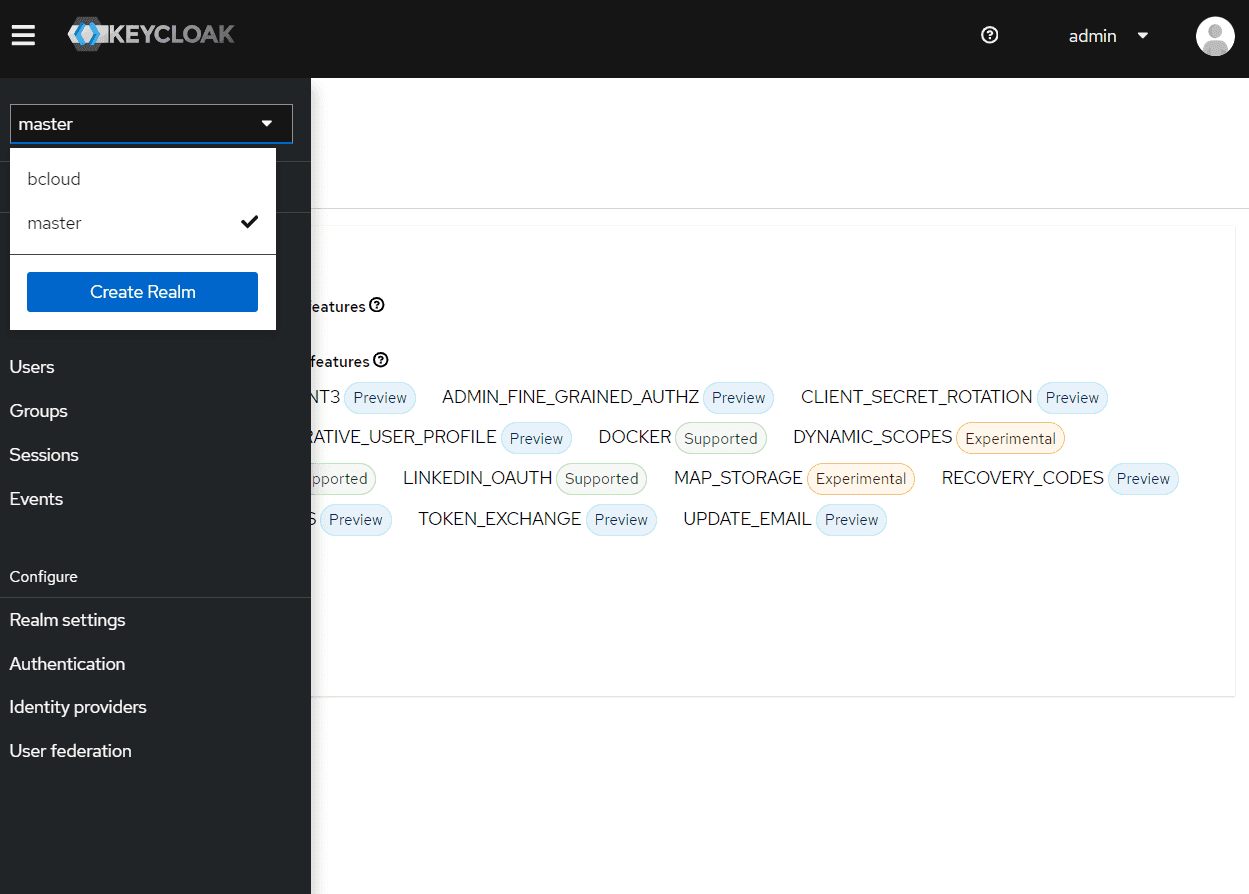
In the Keycloak Administration Console, select 'bcloud' from the dropdown list (currently in 'master').
-
Under Manage, click Users.
-
Click Add user
-
Specify username and email address. Click Create Any username is fine. This will be the username you use to log into Bravura Cloud.
-
Click Credentials tab.
-
Click Set password.
-
Specify a password. Set temporary to Off if you do not want the user to change the password upon initial login.
-
Click Save.
-
Click Save password.
-
Click Role mappping.
-
Click Assign Role.
-
Select Filter by clients in the dropdown, if not already selected.
-
Select the hasura-app: admin role.
-
If you need to access Grafana dashboards, also assign the grafana-dev realm role in the same way, selecting Filter by realm roles in the dropdown instead.
Configure your authentication workflow
Please see examples in Bring your own authentication.
Connect to Bravura Cloud
Bravura Cloud has been built in the Bravura Security SaaS environment with your imported data from Bravura Security Fabric.
To connect to Bravura Cloud simply:
- Open your internet browser
- Navigate to the URL address provided by Bravura Security
- Authenticate to Bravura Cloud, for example:
- Enter the username of the user you created.
- Click Sign In.
- Enter the password of the user you created.
- Click Sign In.
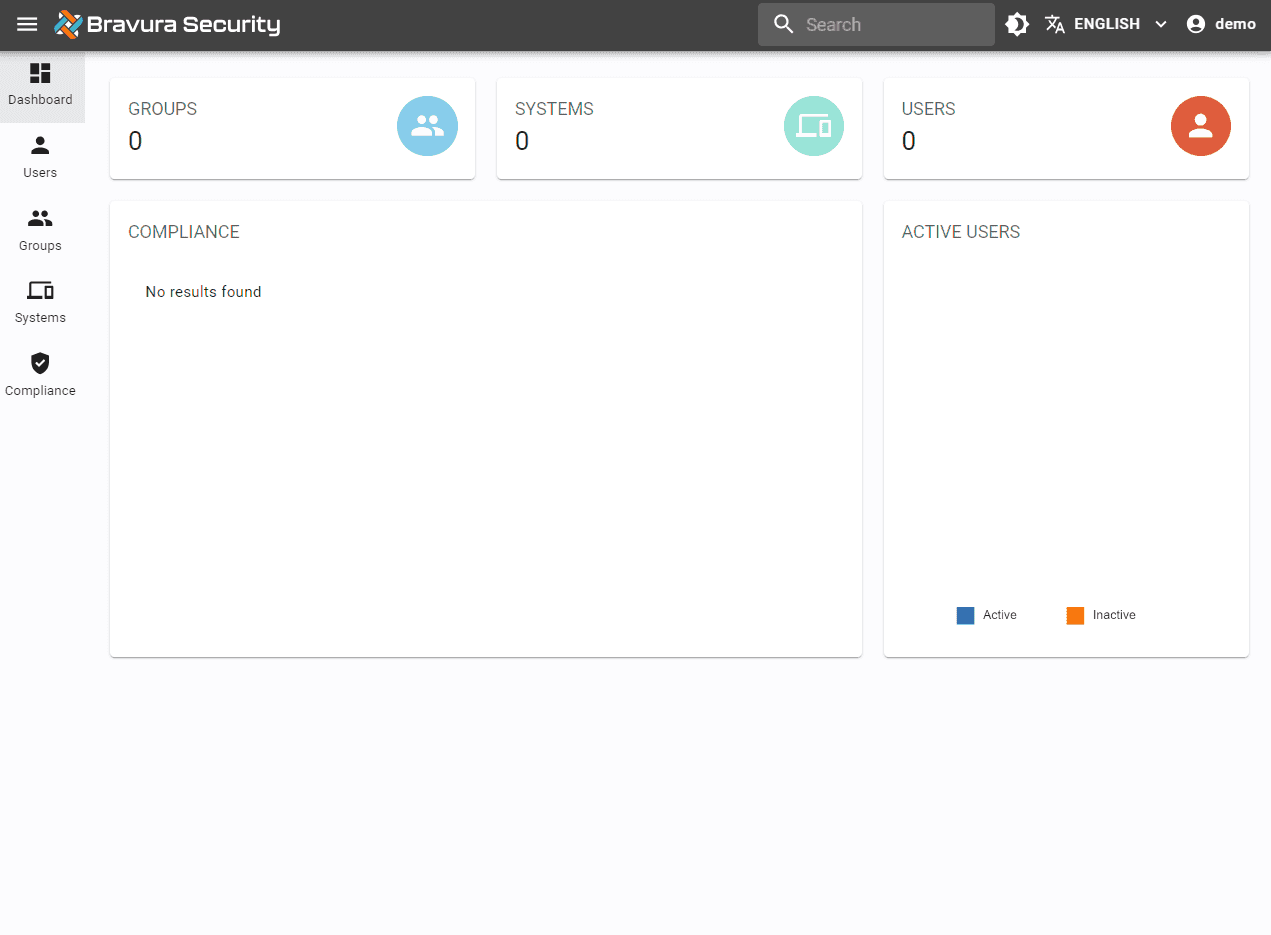
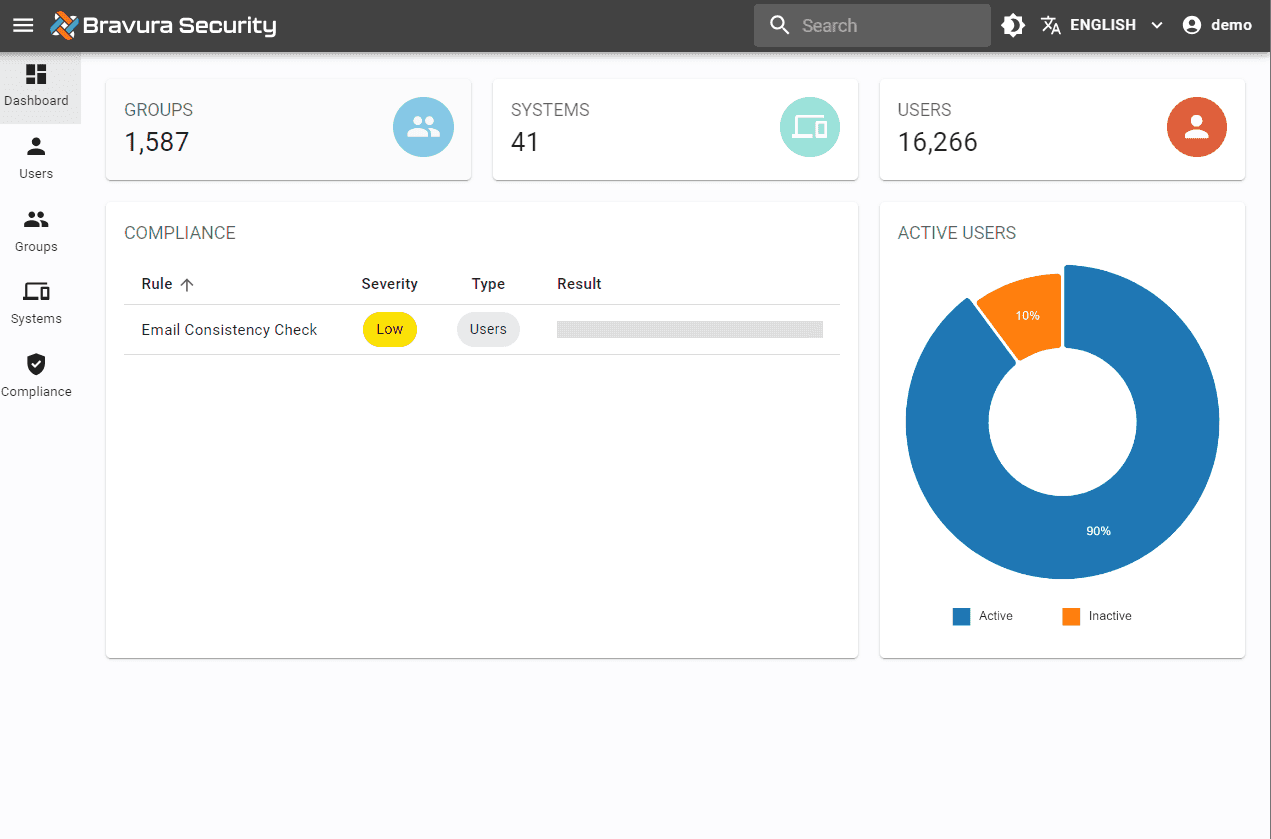
Upon successfully log in, your Bravura Cloud dashboard will be visible.
Load your data
For this step, you will need to add the custom components provided to you to the instance Component directory:
- Custom > Functional > bcloud_data_list
- Custom > Functional > bcloud_athentication (library component used by bcloud_data_list)
- Custom > Data > target_bravura_cloud
For more information, see Installing components.
NOTE: remember to run instance.bat as required.
- Install functional.bcloud_data_list custom component
- Confirm BRAVURA_CLOUD target has been added in Bravura Security Fabric
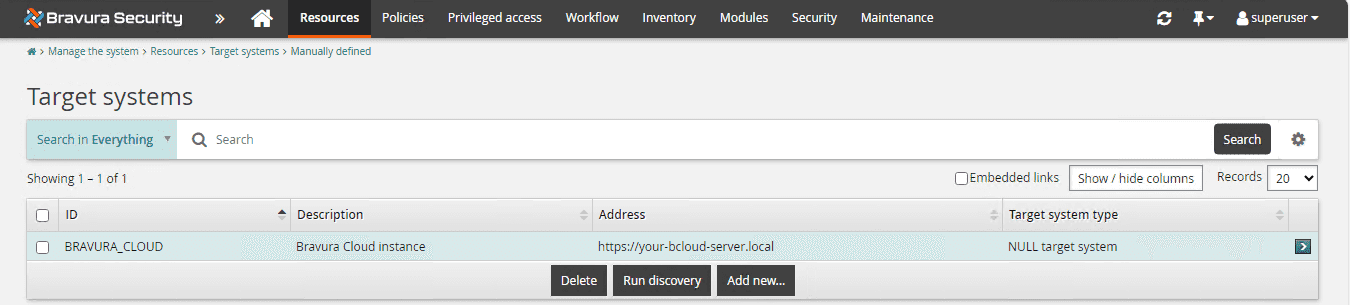
- Update the address of the BRAVURA_CLOUD target system to the root URL of your Bravura Cloud instance
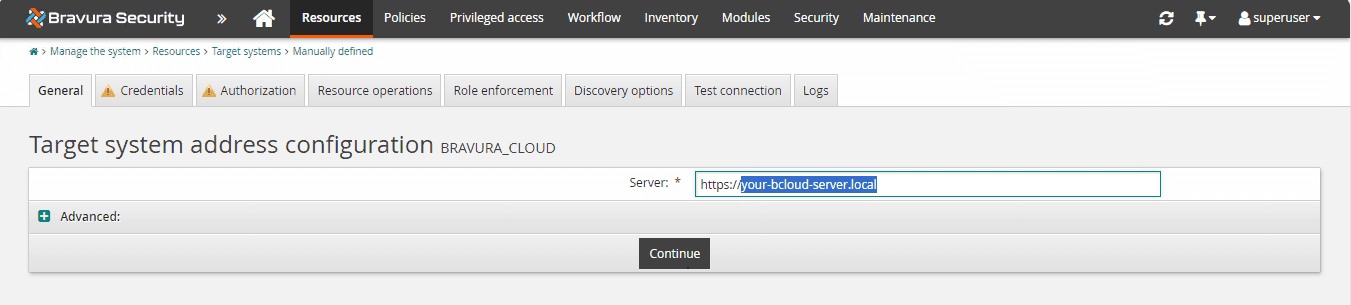
- Add Hasura administrator credentials
- Run auto discovery
Run compliance rules
For this step, you will need to add the custom components provided to you to the instance Component directory:
- Custom > Functional > bcloud_run_compliance
- Custom > Functional > bcloud_athentication (library component used by bcloud_run_compliance)
- Custom > Data > target_bravura_cloud
For more information, see Installing components.
NOTE: remember to run instance.bat as required.
- Install functional.bcloud_run_compliance custom component
- Confirm BRAVURA_CLOUD target has been added in Bravura Security Fabric
- Update the address of the BRAVURA_CLOUD target system to the root URL of your Bravura Cloud instance
- Add Hasura administrator credentials
- Run auto discovery
Review your inventory
Log into Bravura Cloud to review your imported data. Items to review include:
- groups
- systems
- users
Ensure that this data reflects your Bravura Security Fabric instance.
REMINDER to review idmsuite.log for any troubleshooting.
Explore more
Now that you've completed the initial setup of your Bravura Cloud, explore: